Check out the new MinnowBoard.org website for the most up-to-date information on the MinnowBoard Turbot and the MinnowBoard.org Community.
Tadpole Lure
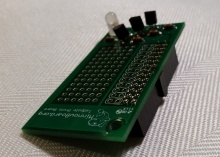
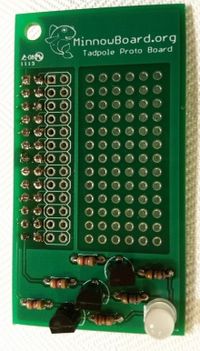
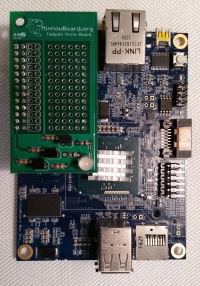
The Tadpole Lure is a low cost "Mini-Lure" kit, providing a single GPIO-controlled RGB LED and a breakout/prototype area. Some assembly required.
Contents
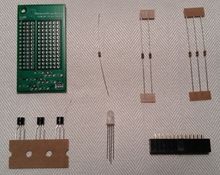
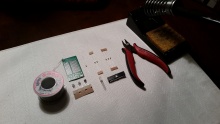
Tadpole Lure Kit Components
|
Design Files
The Tadpole Lure is an "Open Source Hardware" compatible device, licensed under Creative Commons Attribution-ShareAlike 3.0 United States (CC BY-SA 3.0)
Assembly
Getting Started
To assemble the Tadpole Lure, a soldering iron (15-30 Watt), some electronics solder, and a pair of wire cutters (to trim wires after soldering components). You should follow good soldering techniques to safely create a proper and lasting electronic connection.
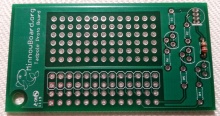
R1 12 Ohm Resistor
There is a single resistor with the color code BROWN-RED-BLACK. This one is used for the resistor position marked R1.
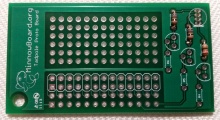
R2/R3 68 Ohm Resistors
There are two resistors with the color code BLUE-GREY-BLACK. These are used for resistor positions marked R2 and R3.
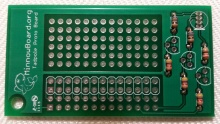
R4/R5/R6 4.7K Ohm Resistors
There are three resistors with the color code YELLOW-VIOLET-RED. These are used for the resistor positions marked R4, R5 and R6.
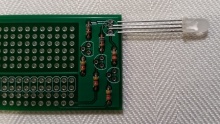
RGB LED
The single RGB LED in the kit is mounted with the longest lead as the second hole from the side with a flat edge. The LED package has a flat side that gets matched up with the white line marking on the PCB.
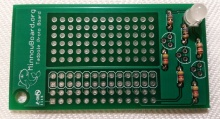
Transistors
Three 2N3906 PNP transistors are included with the kit. Each transistor is mounted on the PCB with the flat side of the transistor matching the markings on the PCB.
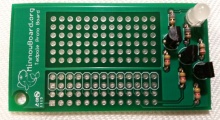
Connector
The 2 row by 13 pin connector is mounted to the bottom of the PCB. The connector has a piece of plastic marking the "key side" that points to the outside of the PCB.
